3-Point Cap Clip
I am starting off with the 3-Point Cap Clip for using with FreeTrack. Earlier I have tried 3-Point Cap Clip using Green LED and also with IR-LED, both were different rigs. So, this time I am trying to create a single 3-Point Cap Clip which allows me to easily change the LEDs between (Green LED and IR LED).
The benefit with this setup is that, I can use either Wii Remote's IR Camera or standard WebCam.
When using Wii Remote, I can plug in the IR LEDs, and when I use the WebCam, I can change it to use Green LED.
I'll be posting the Work-In-Progress report soon.
Sunday, October 4, 2009

Tuesday, November 11, 2008
X-Keys: F-16 Mini Cockpit
F-16 Mini Cockpit
About The Project:
I started this small workshop project as my introductory step towards my goal of building a full fledge 1:1 scale simulator controls for various Flight Sims and Space Simulators available. As the beginning step i have various restraint on the budget etc. So, i came up with an option to go for a small scale version with minimal cost as possible. Most the parts i used are easily available at any hobby store or stationaries.
This Project took me about a month working only on the weekends.
This Mini Cockpit is made for the F-16 Flight Sim ( Falcon4 AF )
What I have used for my project?
The Workshop: How I put it all in together?
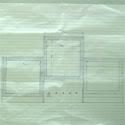
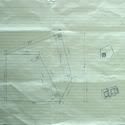
Schematics:
I first jot down the connection and switches schematics before wiring the switches on.
Workshop: DB Board
In this DB Board I sorted the connection that will be coming out of the X-Keys and mapped it to a easy to connect Screw-In connectors with Row and Column connection labeled.
Workshop : MFD Panels
I assigned 5 rows and 4 columns of the X-Keys to this board, and there are 2 of these MFDs.
For rows i have to connect them using a diode to avoid phantom keys.
There are a total of 20+20 = 40 switches in both the MFDs combined.
Workshop : 4-Way Switch
Broke open 2 toggle switches, on is small and the other a larger done.
Connected the lower pin of the smaller toggle with the handle of the larger toggle.
I had to design my own 4-way switch as i was not able to procure it at the moment from the market. I used two Toggle switches and 4 pushbutton switch to make this and used Elastic Bands for the spring.
Workshop : ICP
For ICP I have used 8 Rows and 4 Column to connect to 26 Switches.
Workshop : X-Keys Safe Box
I used a Haldiram Sweet Plastic Box as a safe container for the X-Keys USB Matrix Board. I had to punch few holes in the box and fit the entire thing in there. This was the easiest thing till now.
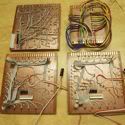
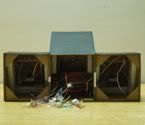
Workshop : All Completed Boards
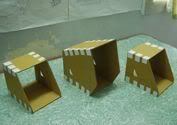
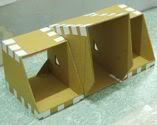
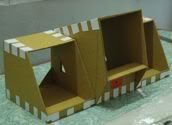
Workshop : The Chassis
It was a great experience working with this Mini Cockpit, and am now looking forward to start on with 1:1 scale F-16 Cockpit with more Panels very soon.
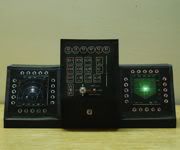

About The Project:
I started this small workshop project as my introductory step towards my goal of building a full fledge 1:1 scale simulator controls for various Flight Sims and Space Simulators available. As the beginning step i have various restraint on the budget etc. So, i came up with an option to go for a small scale version with minimal cost as possible. Most the parts i used are easily available at any hobby store or stationaries.
This Project took me about a month working only on the weekends.
This Mini Cockpit is made for the F-16 Flight Sim ( Falcon4 AF )
What I have used for my project?
- X-Keys USB Matrix board :
This is an I/O Device which can provide upto 128 switches with 8x16 Matrix connections. I ordered it from P.I.Engineering Link - Micro Solder :
- 5mm LEDs :
- Mini Push Button Switches :
- Toggle Switches :
- PCB Boards :
- IDE Cable and connectors :
- Cardboards, Favicol and Chart Papers :
The Workshop: How I put it all in together?
Schematics:
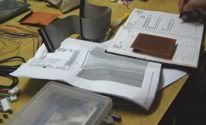

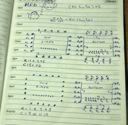

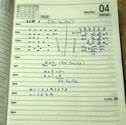

I first jot down the connection and switches schematics before wiring the switches on.
Workshop: DB Board
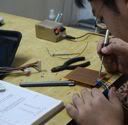

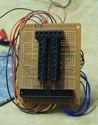

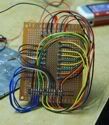

In this DB Board I sorted the connection that will be coming out of the X-Keys and mapped it to a easy to connect Screw-In connectors with Row and Column connection labeled.
Workshop : MFD Panels
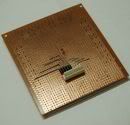

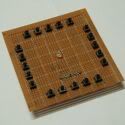

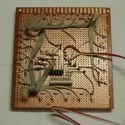

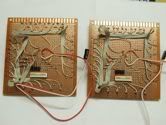

I assigned 5 rows and 4 columns of the X-Keys to this board, and there are 2 of these MFDs.
For rows i have to connect them using a diode to avoid phantom keys.
There are a total of 20+20 = 40 switches in both the MFDs combined.
Workshop : 4-Way Switch
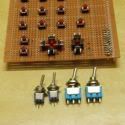

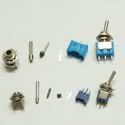

Broke open 2 toggle switches, on is small and the other a larger done.
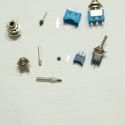

Connected the lower pin of the smaller toggle with the handle of the larger toggle.
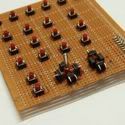


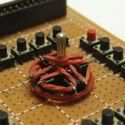

I had to design my own 4-way switch as i was not able to procure it at the moment from the market. I used two Toggle switches and 4 pushbutton switch to make this and used Elastic Bands for the spring.
Workshop : ICP
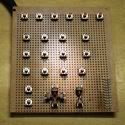

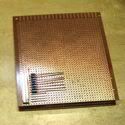

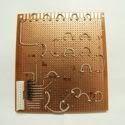

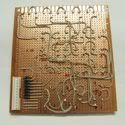

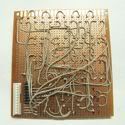

For ICP I have used 8 Rows and 4 Column to connect to 26 Switches.
Workshop : X-Keys Safe Box
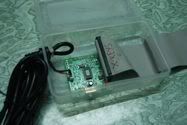

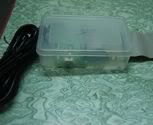

I used a Haldiram Sweet Plastic Box as a safe container for the X-Keys USB Matrix Board. I had to punch few holes in the box and fit the entire thing in there. This was the easiest thing till now.
Workshop : All Completed Boards

Workshop : The Chassis






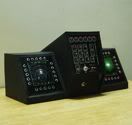

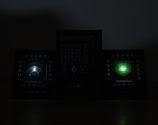

It was a great experience working with this Mini Cockpit, and am now looking forward to start on with 1:1 scale F-16 Cockpit with more Panels very soon.
Subscribe to:
Posts (Atom)
